
Building a concrete pool is a sequence of careful steps, each one checked before the next begins. Here is the journey in plain English, and how we manage Sydney's spring rain and summer heat along the way.
A custom concrete pool typically moves through eight stages, from design to handover. Knowing them helps you plan, ask better questions and feel confident that your project is in good hands. Timelines vary with design, site and approvals, so we will always give you a schedule tailored to your pool. Sydney's weather plays a part too: spring brings warm days and sudden downpours, and summer brings heat, so a good builder plans each stage around the forecast.
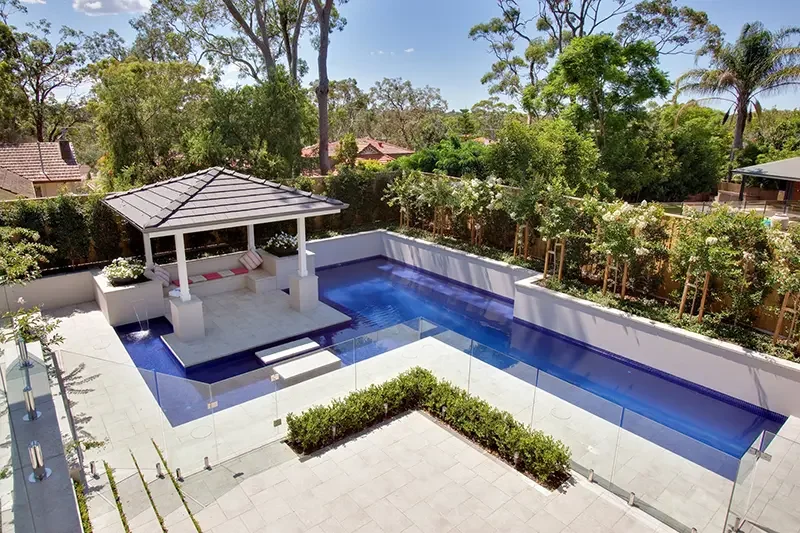
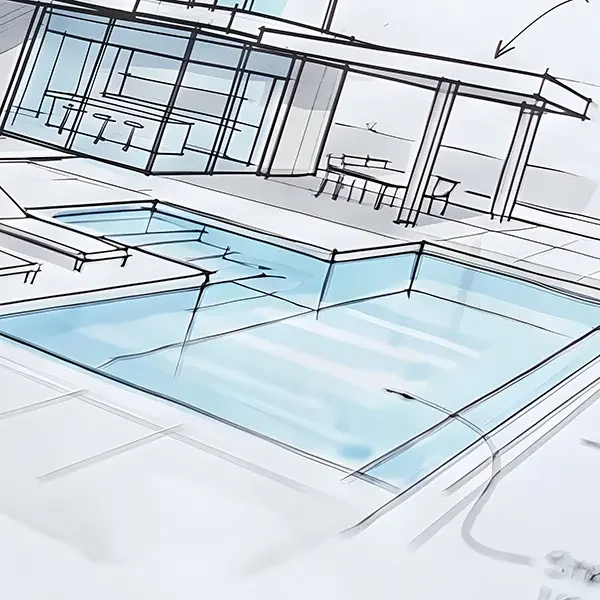
1. Design and engineering
Everything begins on paper. We design the pool around your site and lifestyle, then the structural engineering is prepared so the shell is built to suit your soil and your land. Approvals are lodged at this stage too, and we will explain exactly what is needed.
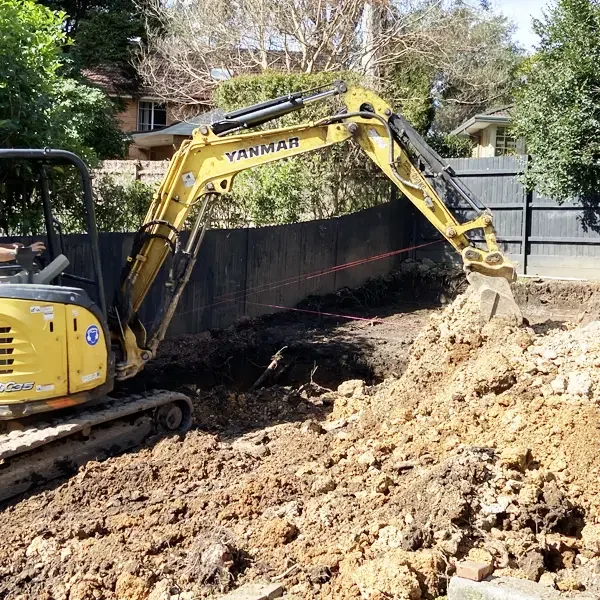
2. Site set-out and excavation
Once approved, we mark out the pool and excavate to the planned depth. Access, soil conditions and the position of services all matter here, which is why we inspect the site thoroughly before the machines arrive. Heavy rain can turn an open excavation into a problem, so we watch the forecast and protect the site.
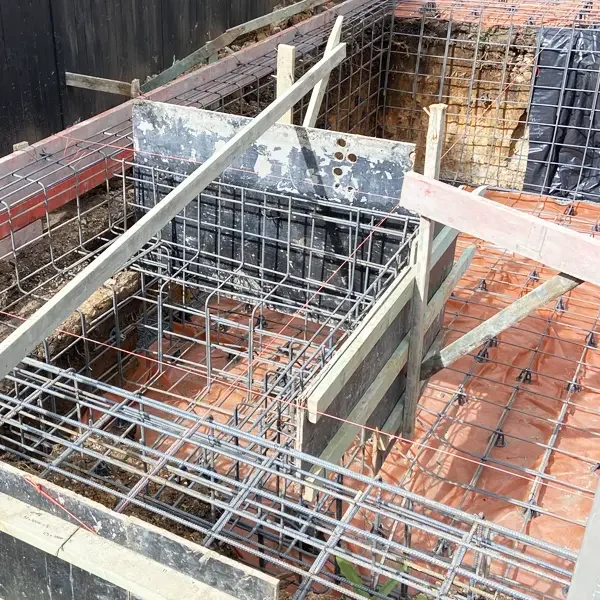
3. Steel reinforcement
A cage of steel is tied by hand to the engineer's plan. This is the skeleton of your pool, so it is inspected before any concrete is sprayed or poured. It is the stage we advise every owner to see in person, because it is a good look at the quality hidden beneath the finish.
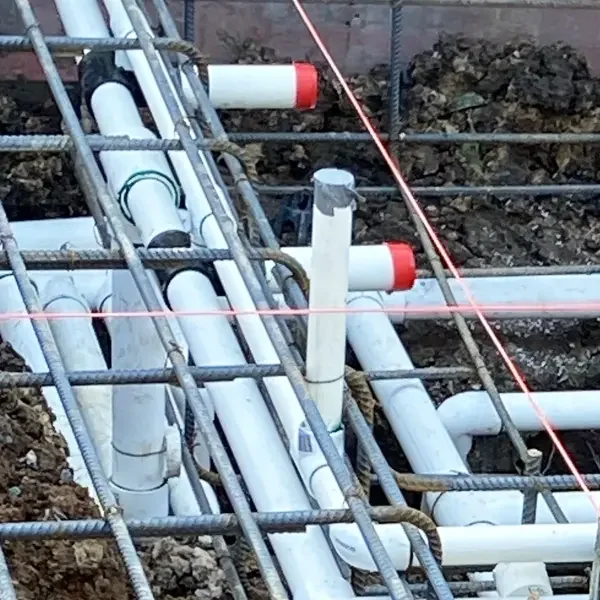
4. Plumbing and electrical
Pipework for circulation, cleaning and any water features is installed, along with the electrical conduits for lighting and equipment. Planning these early keeps the finished pool clean and uncluttered.
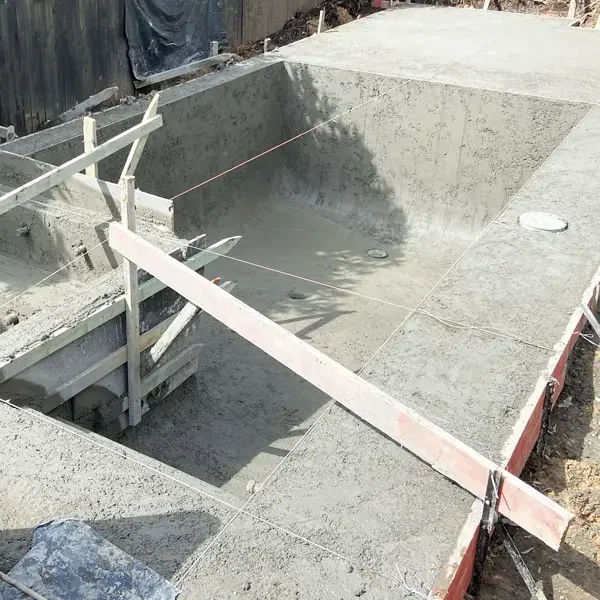
5. Concrete shell
The shell is formed in concrete, shaped to the design and left to cure properly. Good curing is not a step to rush, because it affects how well the structure performs over time.
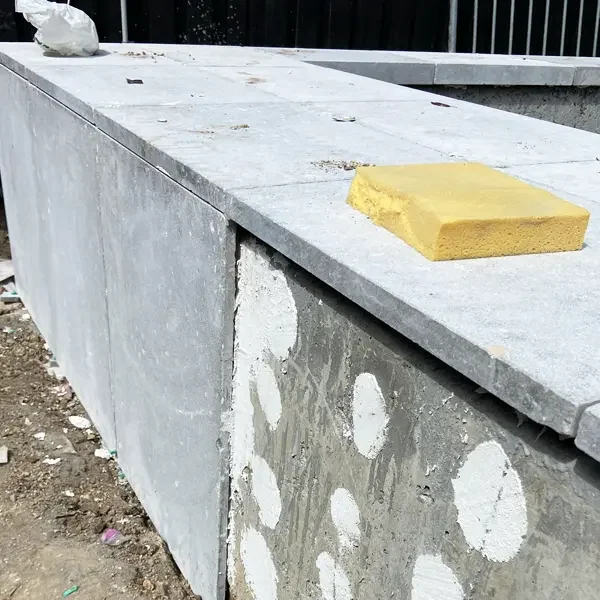
6. Tiling, coping and surrounds
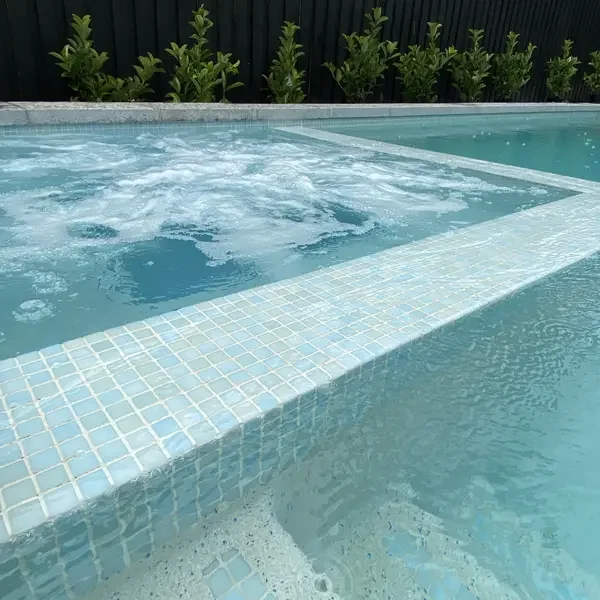
Waterline tiles, coping stone and paving give the pool its crisp edges and its character. This is where the design comes to life, and where small details make a large difference.
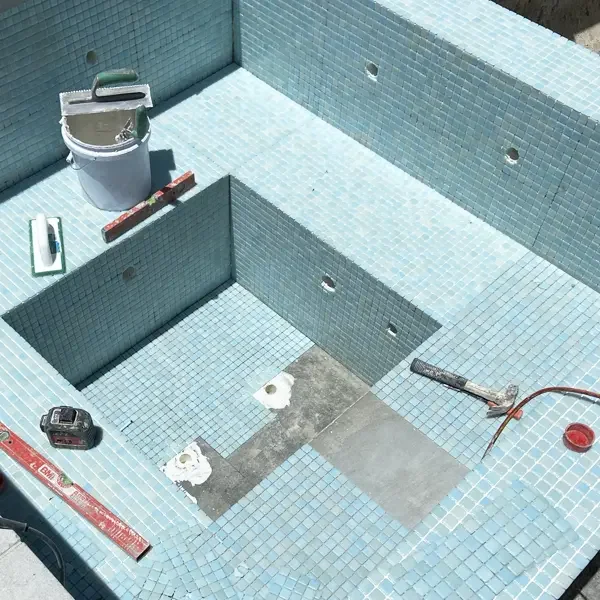
7. Interior finish
The interior surface, whether glass beads, pebble or tile, is applied for the colour, texture and feel underfoot you chose at the start. The pool is then filled and the water is balanced carefully.
8. Handover
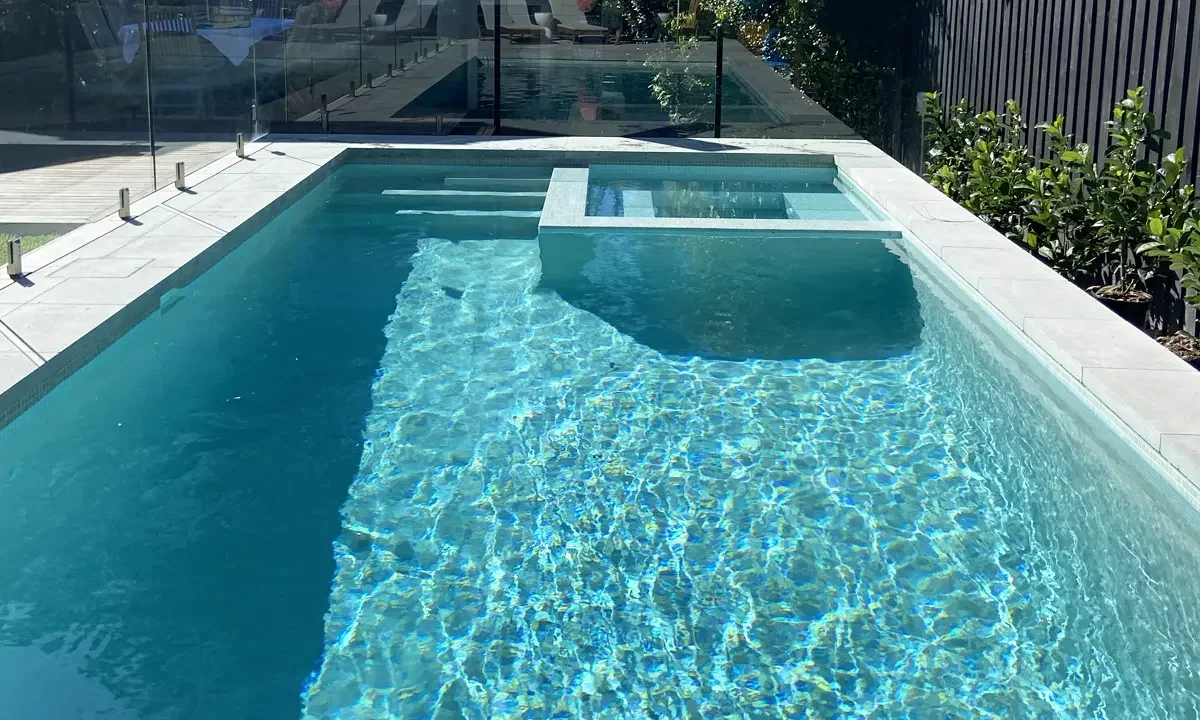
We commission the equipment, walk you through everything, and share care instructions so you feel at home with your pool from day one. Then you get to enjoy the first swim.
A builder’s note:
The quiet moments make the difference: checking the steel, checking levels, checking the cure. These are not the stages anyone photographs, but they are the ones that decide how your pool looks and performs in ten years.
Quick checklist
Ask for a written schedule that names each stage.
Ask which inspections happen before concrete is placed.
Ask who will be your single point of contact on site.
Ask how rain and heat are managed on site, and how weather delays are communicated.
Your next step
The best way to understand how a pool is built is to see one in progress. Get in touch and we will arrange a visit to a current build, so you can see the craft first-hand.